DDR Recovery Software - Professional Screenshots
Professional Data Recovery Software for windows is useful tool for your entire lost data recovery requirement. It can effectively retrieve data in various loss scenarios including deletion, drive formatting, disc corruption, lost or deleted partitions, drive errors, crashed systems, and others.
Software can restore deleted files in every significant data loss scenario, whether the files were lost from a fixed hard drive partition or any USB storage media drive. Data Recovery program recovers deleted or corrupted files and folders from commonly used hard disk, USB drive, Pen drive, Digital Camera, Memory Card, Memory Stick, External Hard Disk, Mobile Phone, and other similar data storage devices.

High Performance is ensured by efficient software features:
- Recovery Data from Missing Partition
- Deleted or missing files and folders can be recovered
- Retrieve Files from All Windows Drives and Devices
- Preview the Recovered Data before Saving in PC
- Restore Data from Crashed Devices
Process of recovering data from all types of Storage Devices with Professional Data Recovery Software:
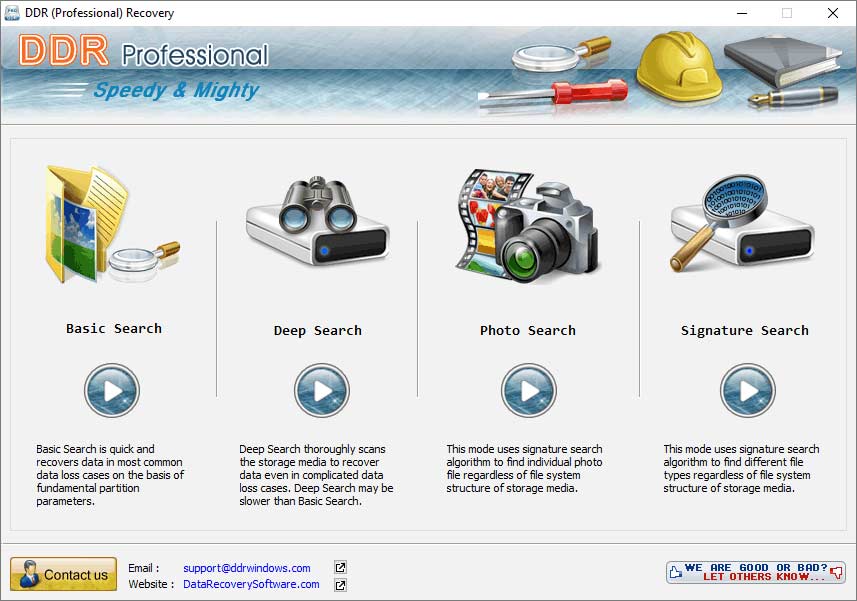
Step 1: Attach a USB digital storage device and choose any one search option to Recover Data
By selecting one of the search options, such as basic, deep, photo, or signature search, users can recover data from storage devices or Windows drives. Data can be quickly recovered using 'Basic Search' in common cases of data loss. Even in cases of complex data loss, you can use 'Deep Search' to recover data. 'Photo Search' mode uses a signature search algorithm to restore specific photo files. Regardless of the file system architecture of the storage medium, 'Signature Search' mode uses signature search algorithm to recover various file types.

In above screen, select search option for searching process.
Step 2: Select the drive from the left panel which you want to recover
Choose drive from the list of physical or logical drives in the left panel using the "search more partitions" button to search lost or deleted partitions. Users can save their search results for lost data using the software save log option, and they can also load those results using the load log option. A user can change the range of sectors by adjusting the slider's edges or by manually entering values in the 'start sectors' and 'end sectors' fields. Then click on next button to launch start searching process. By using the "stop search" button, you can also stop date recovery and partition searches.

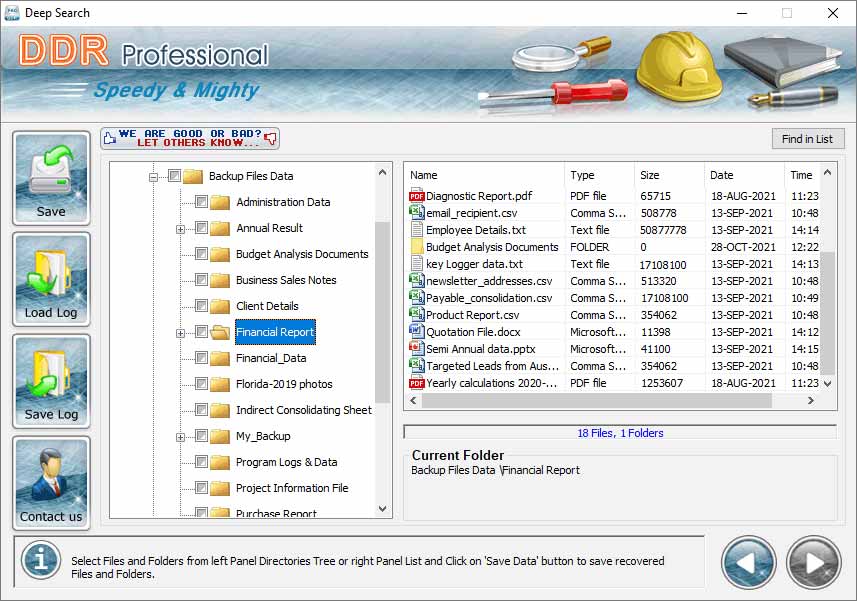
Click on any folder from left panel to view all files containing in it after recovery.
Step 3: Save Recovered Files using “Save Data” option
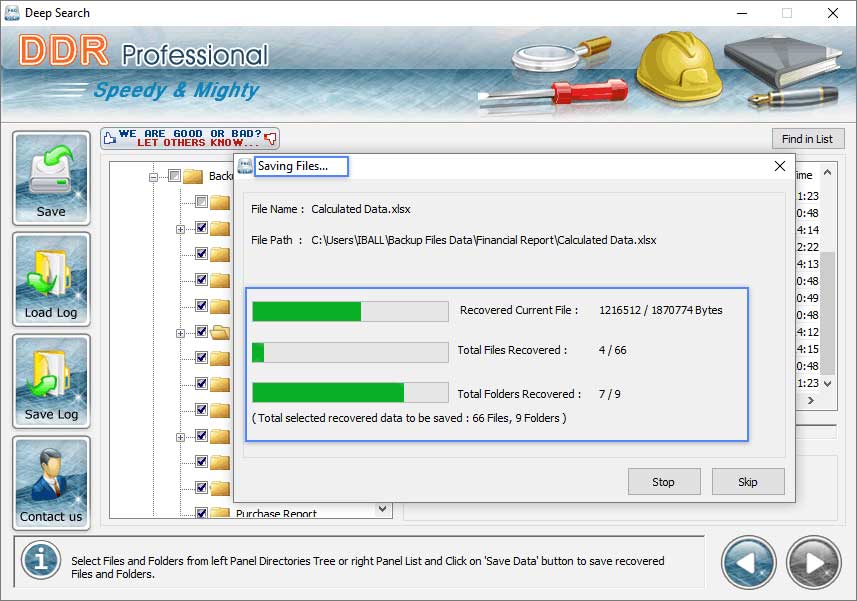
After recovering process completed, User can save recovered data by selecting files and folders from the left panel directories or the right panel list, using the ‘save data’ button at specific location. If you want to recover other partitions or drives, click on the back button to select drives and continue the same process.

Save recovered data as shown in figure after recovery.
 Download Now


